
A photo editor that learns, and keeps it to itself
14 Oct 2026I love taking photos, but they always need tweaks, and the tools for tweaking them stress me out. So I built my own editor. It’s quick, it learns what I like by doing maths on my phone rather than sending my photos to OpenAI, and there are no uploads, no tracking, no accounts and no nonsense. It’s free, and it works on your phone too.
Try it now, or read about it first.
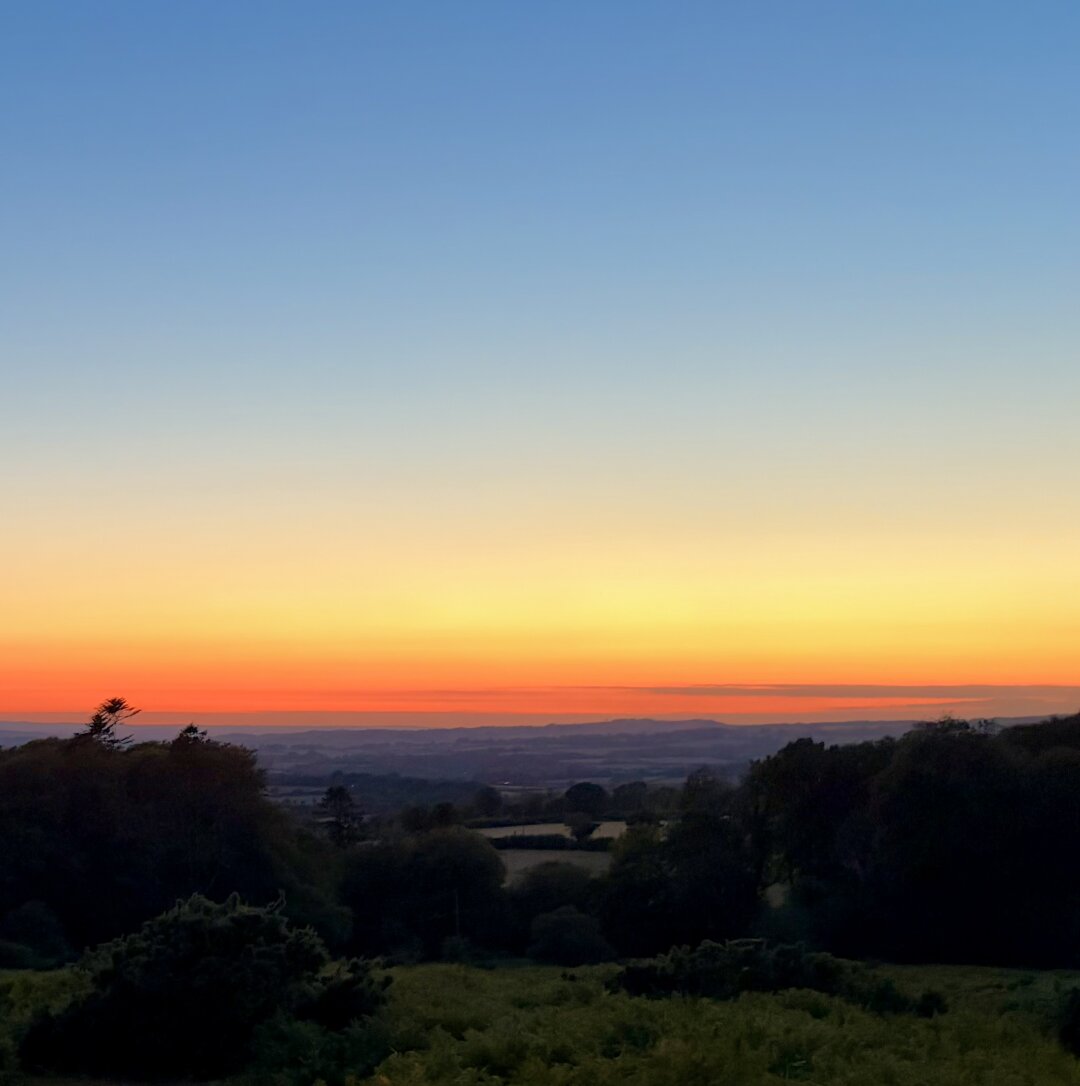 Pew Tor, on a sunset hike.
Every photo needs a tweak
I shoot a bit of everything. Film on the Nikon F601, where I’m honestly just working through the fridge at The Film Safe. The Fujifilm X-S20 with the Viltrox 13mm f/1.4 for cars, low and wide. The old D3300 at the track. The Ixus, which is a fun shooter. Almost every photo needs something before it goes anywhere: lift the blacks on a scan, a bit more punch, straighten a horizon.
You compose as best you can in the camera, in the moment, but sometimes those moments don’t give you forever to get it all perfect. That’s especially true with older gear. Often the best you can do in the instant is focus, frame and press the shutter button. Your child won’t hold that pose for long. The bird will fly off. As for sport, you definitely don’t get time to think there. And even in the least constrained situation, we all want to tweak things when we see those images on different displays.
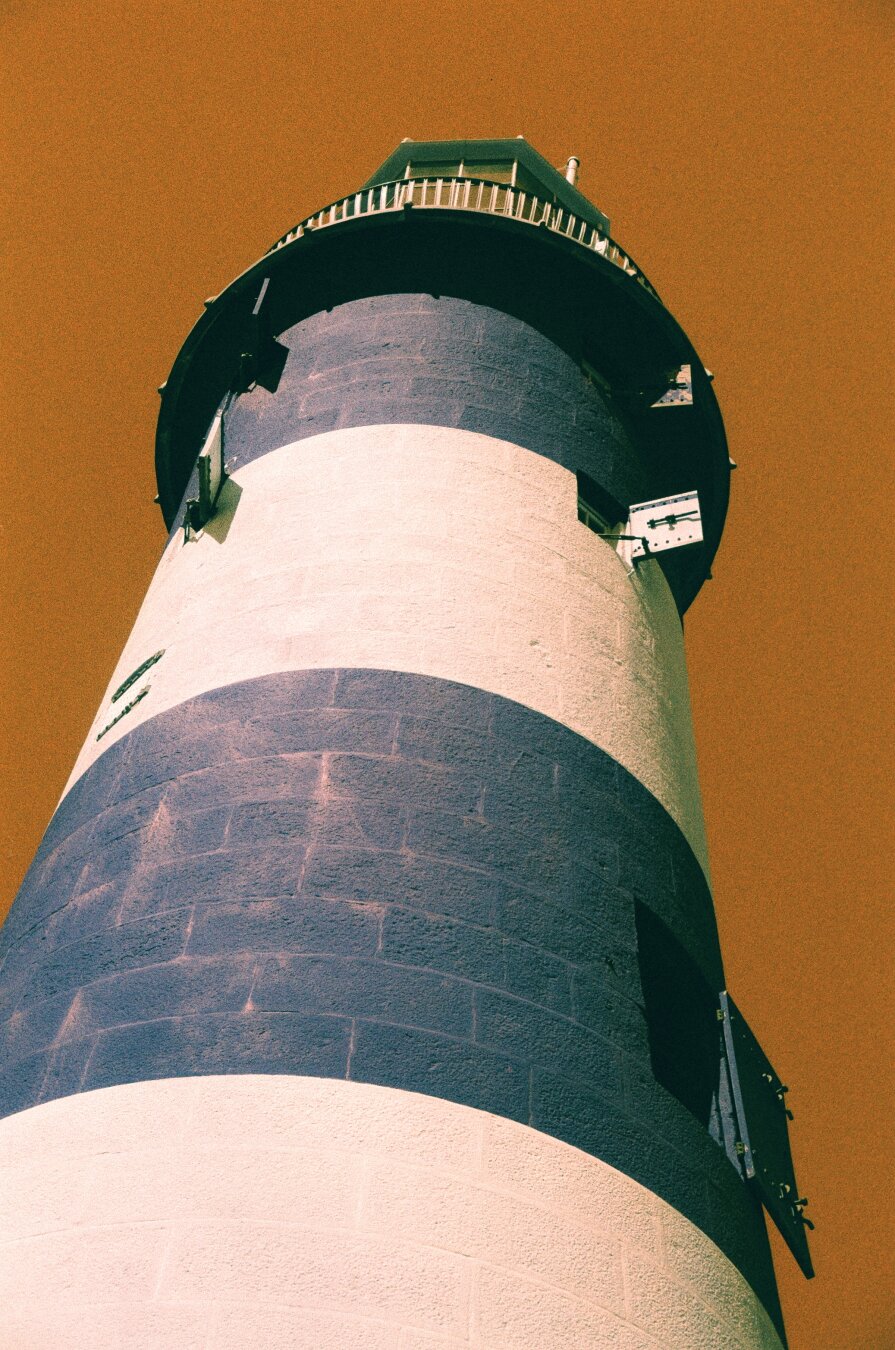 Smeaton’s Tower on Harman Switch Azure.
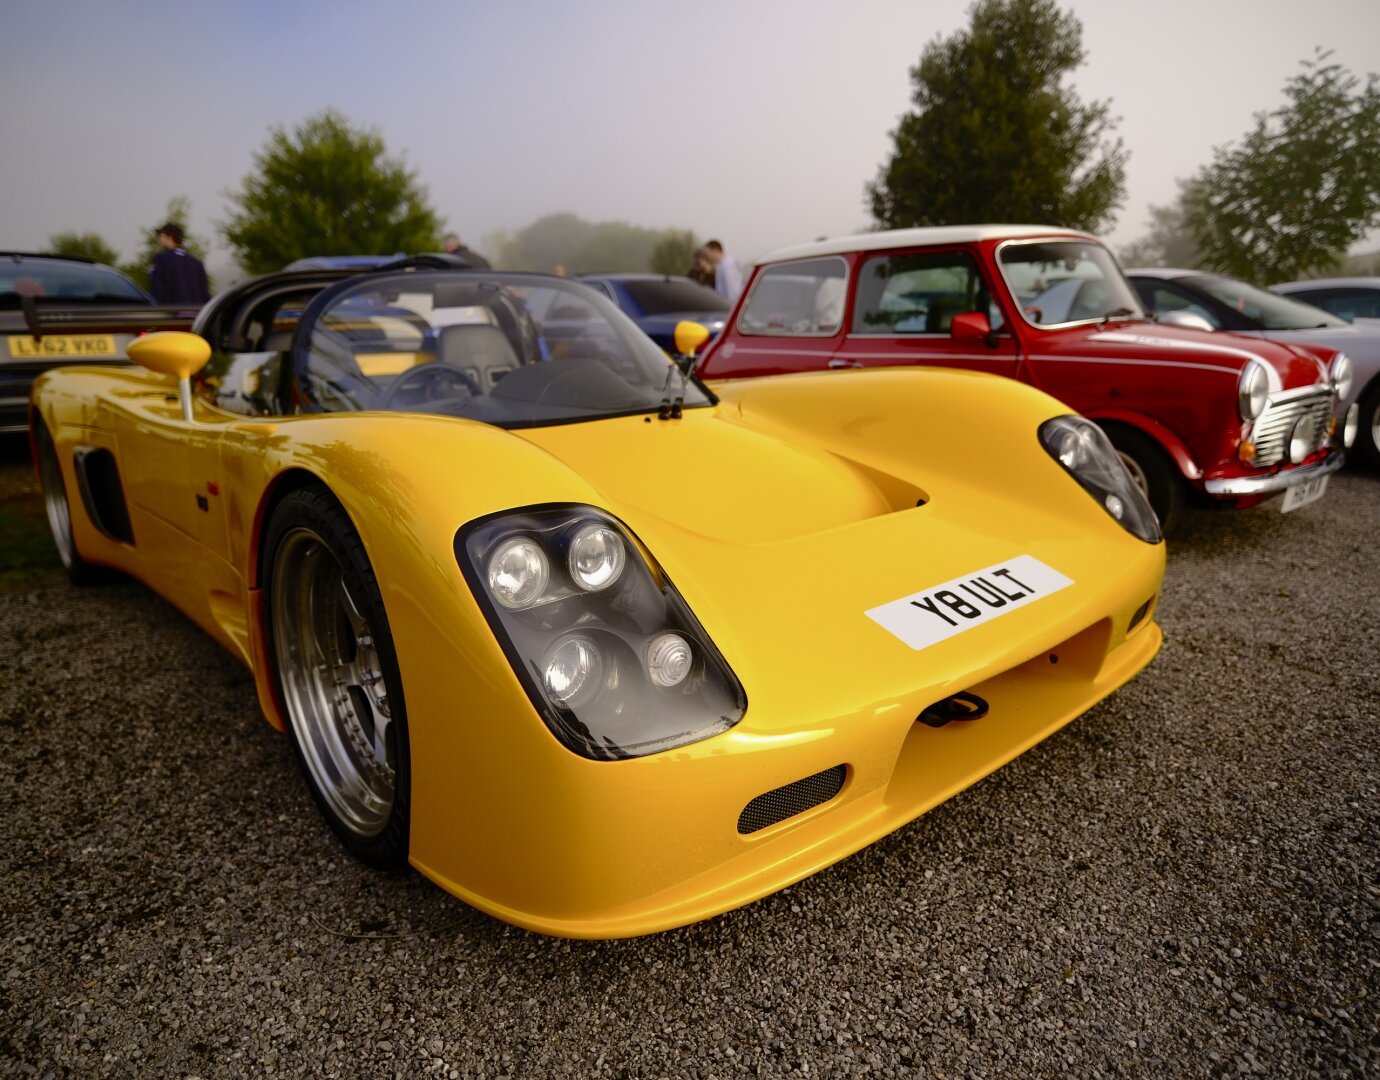 The Viltrox 13mm at a car show. Get close or go home.
Everything I tried cost me something
Photoshop is one of those things I think everyone hates but is basically stuck with. It’s expensive and overkill for what I need, and I’d be paying every month for a tool where I’d use a tiny fraction of what it can do. I’ve seen a lot of people trying to get out from under it lately, including by building their own clones of it. That makes more sense to me than signing up to an Adobe subscription, but I didn’t want another Photoshop either.
GIMP is free, and I think open source is basically a good thing. But GIMP is clunky, slow, frustrating and unfriendly. There was never a moment where I’d had enough of it, and never a moment where I thought it was good enough either. A decade or two ago there just weren’t many other options.
Affinity is what I actually used. The before and after pairs I’ll come to later were Affinity edits. It’s definitely friendlier than Photoshop and the rest. But it needs an account, it constantly nags me about AI, and somehow I don’t feel like I trust it.
Instagram is meant to be a beginner-friendly way to share photos, but the editing controls are bad. Their range isn’t limited to what’s useful, and the app doesn’t learn how you like your images. The adjustments don’t interact with each other, so tweaking one thing usually means compensating with something else. The presets are tired and rigid. It’s not what I want, for sure. But if you like editing your photos in Instagram, it isn’t going anywhere.
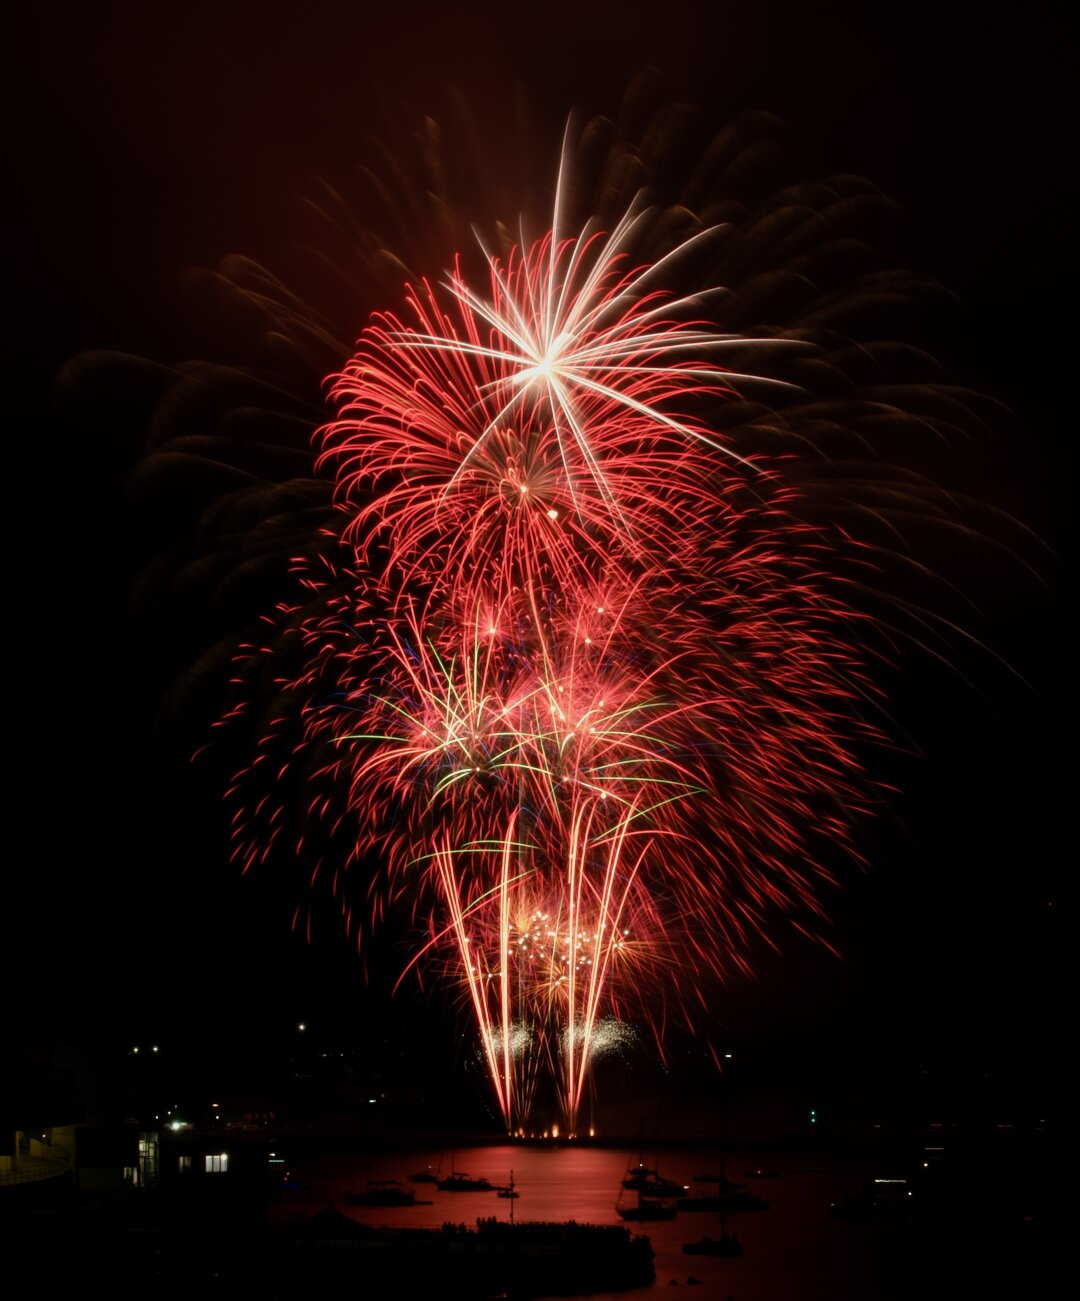 My caption on Pixelfed at the time: “I should probably pop them in Gimp and spruce them up a bit.” I never did.
What I wanted
I wanted great photos, but I didn’t want to do a course in any software package to get them. I wanted it to be quick and easy, on my phone. And I wanted it to learn from what I do, in a mathematical way, not a send-everything-to-OpenAI way. Some people use AI to edit their photos for them. I’d rather use it to help people do their own thing.
It isn’t about recreating Photoshop. It’s about outcomes. If I always up the contrast on photos from my Ixus, it should learn that. If I want to add a frame and an attribution line, I shouldn’t need another app.
Where the looks came from
It started as something just for me. I took the photos I’ve published on Pixelfed and on this site, 507 finished images, and matched 180 of them to their unedited originals, pixel for pixel, to see what I’d actually done to each one.
I presumed I mostly tweaked photos into the same sort of shape. It’s more complicated than that. There’s a range of factors, but they’re pretty predictable once you know the camera and lens, and the film stock too. Film gets tidied up a little but keeps its lifted blacks. Digital gets deeper blacks and a touch more punch. I keep colour casts: 97% of a photo’s warmth survives my edits. And the Viltrox photos need the least work of anything.
A few things became clear. I did have a few styles I tended to stick to. And the style I pushed a photo towards was usually the one nearest to the straight-out-of-camera shot.
The biggest discovery was that sticking strictly to those styles wasn’t all that desirable. What I mostly want is for a photo’s numbers to fall within a range, with the smallest changes it takes to get them there. It’s not what I expected, but in hindsight it seems an intuitive result.
So I grouped the finished photos into looks. Each look is a set of targets: how deep the blacks go, where the middle sits, how bright the highlights get, how much colour there is, how warm the shadows and highlights are, how dark the corners are. Each target comes with the range my own finished photos fell within. Then they needed names. A name lets you develop a view on a look, so you know how you feel about one compared with another. I picked place names because they’re evocative, and each of these places has a sort of look of its own. They’re all good places to take photos, too. I wouldn’t name a look after Basingstoke, even if it was a good word. I also wanted names that don’t sound like English words, so there’s no confusion about what they mean. Meldon started out as “Bright punchy”, which tells you what to expect before you’ve seen it. Meldon is just Meldon, so it comes to mean whatever it does to your photo. So they’re Meldon, Polzeath, Sennen, Kendal, Thruxton, Dawlish, Cremyll, Lundy, Meon, Bude, Wellow and Pewsey.
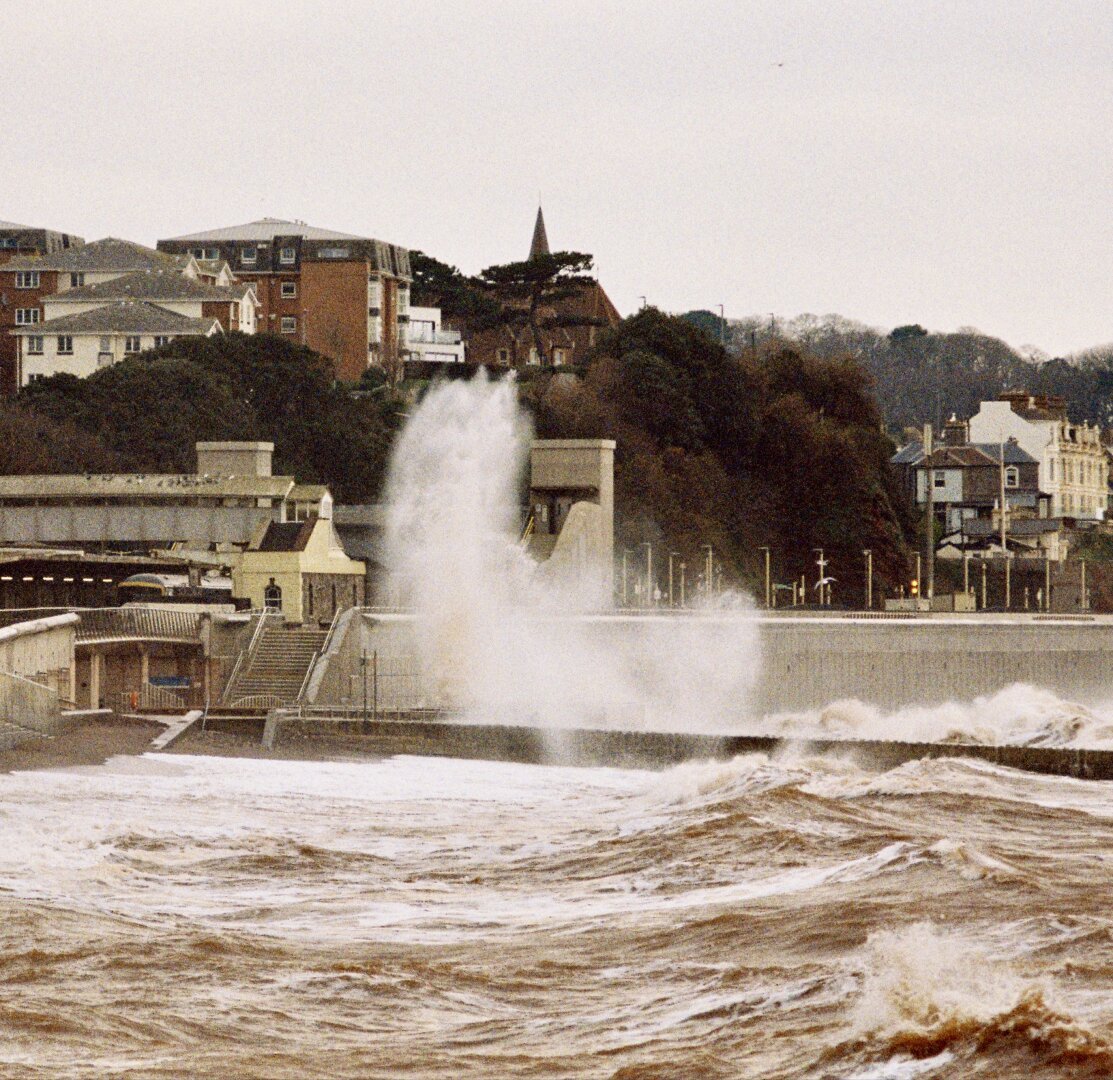 Red Dawlish sand makes the waves look evil.
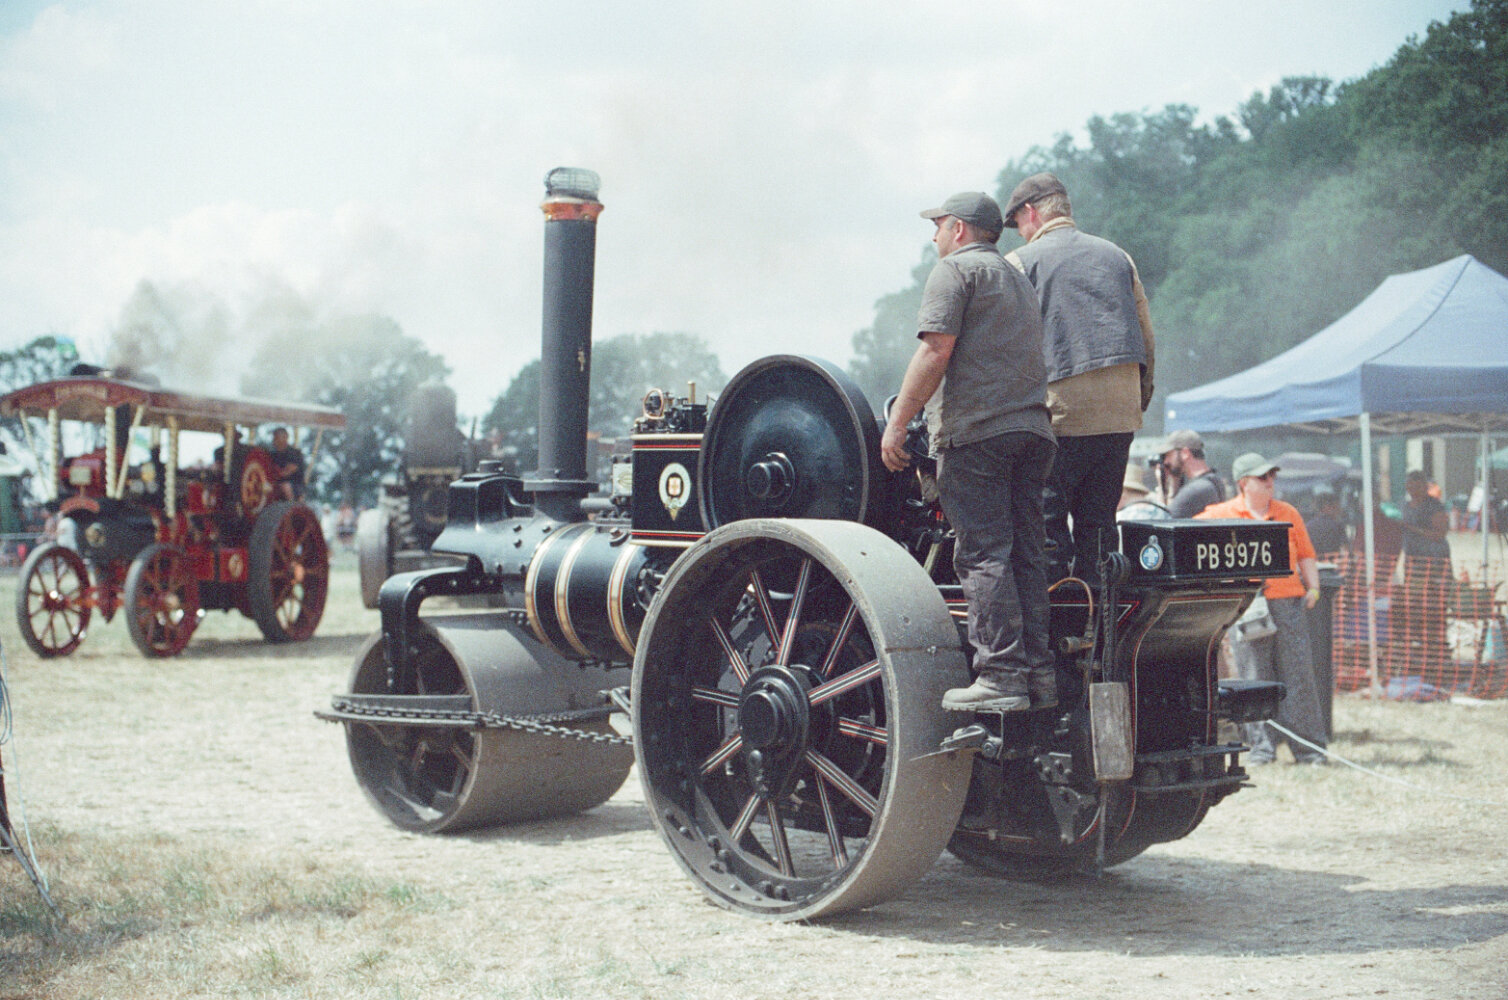 Weird grainy 35mm was the right choice for the tractor festival.
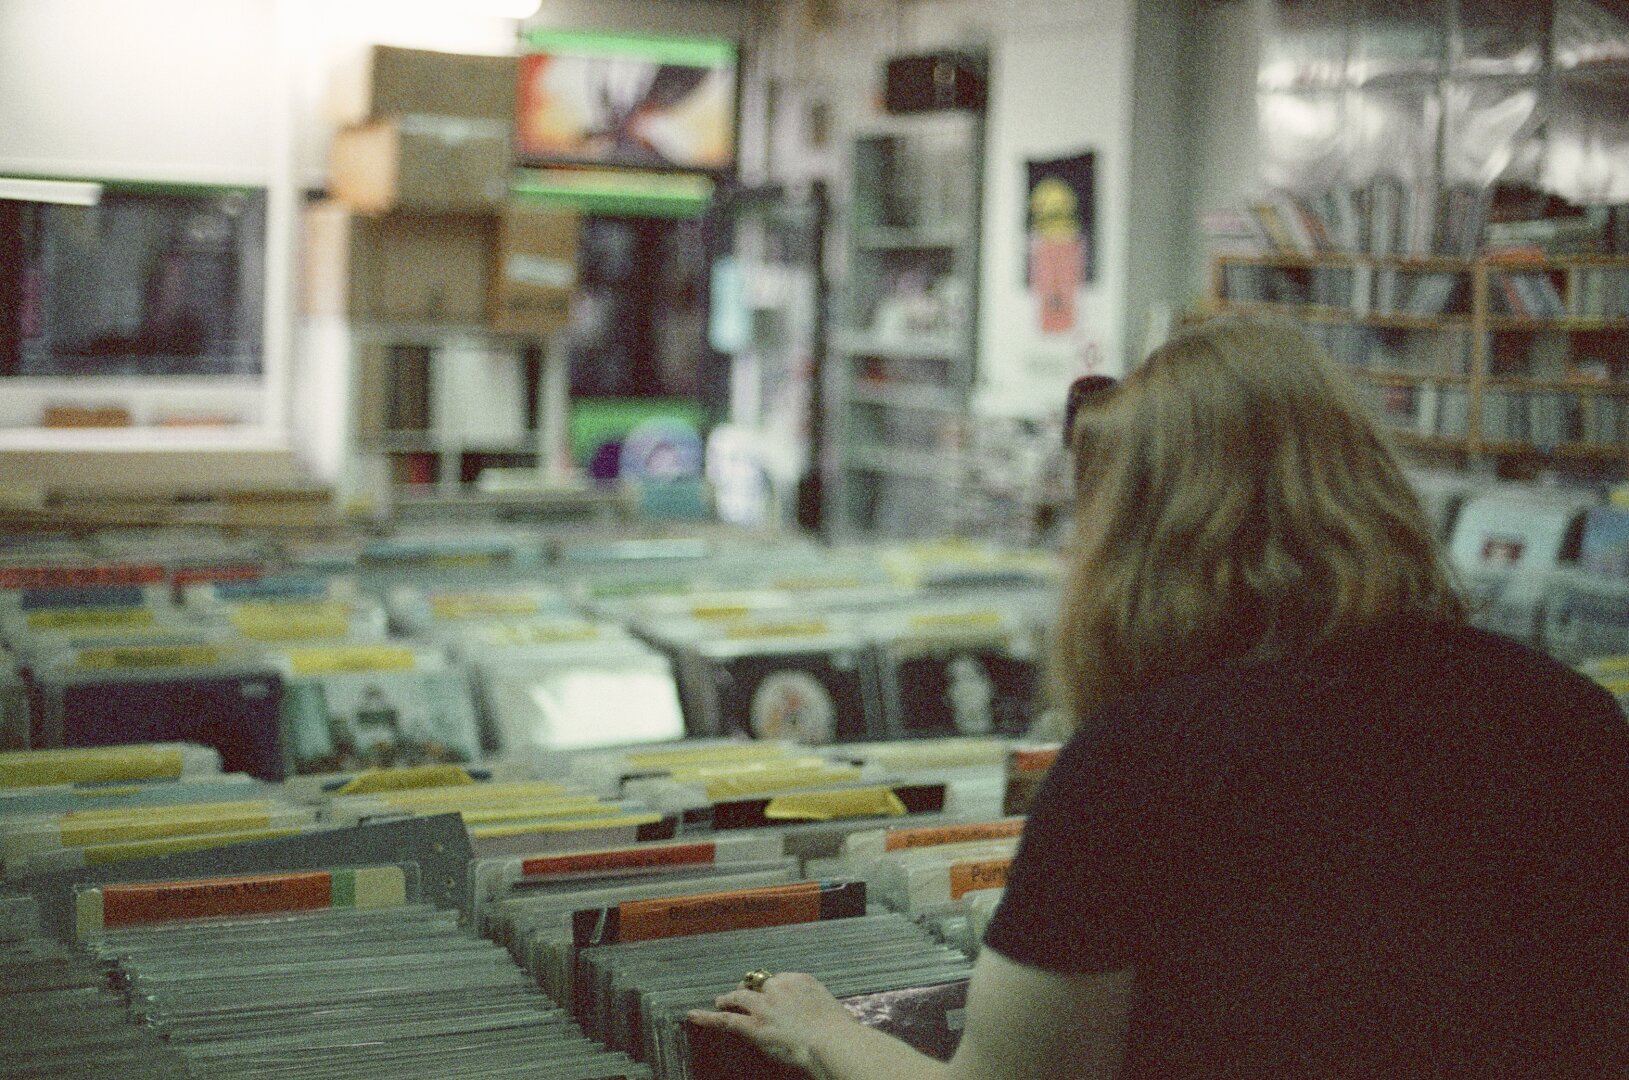 12” wax on 35mm celluloid.
A look is a target, not a filter
A filter does the same thing to every photo. Beastie Snaps measures your photo, knows where the look wants it to end up, and works out the edit that gets it there. A dark photo and a bright one arrive in the same place by different routes.
That changes how the sliders feel, and it fixes my problem with Instagram’s. Tweak one thing here and the look does the compensating for you. There are four sliders, Feel, Punch, Bloom and Warmth, and they’re vague on purpose. Each one nudges the target, and the edit re-solves around it. Bloom runs from muted to lush, which works because lush is a westcountry word.
The first time it really impressed me was a photo of Rosie in front of a cannon at Fort Nelson, taken on the iPhone in flat, grey light. It was an incredible performance on some pretty shit pixels. Sennen brought her face and outfit out of the gloom without me touching a slider.
It didn’t get there first time, though. The first version turned her dark clothes bright blue. Lifting the deepest shadows that far multiplied their colour noise along with their brightness, and an iPhone’s near-blacks are noisy and blue. Capping how much colour the deepest shadows can gain fixed it.
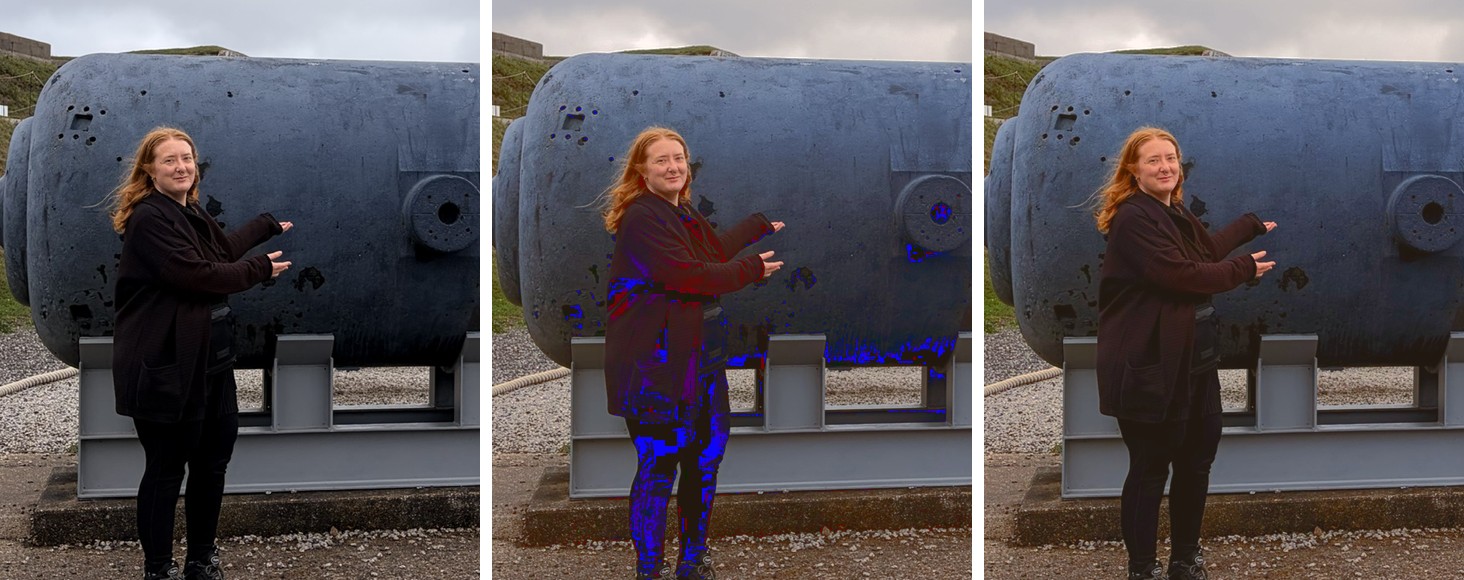 Fort Nelson: as shot, the first attempt, and Sennen now.
It learns, slowly, on the phone
Back to the Ixus. If I always up the contrast on its photos, it learns that, and the next Ixus photo opens with more contrast already.
Every export is logged on the phone, along with the camera, lens and film I picked. After a few exports, a look starts moving towards what I actually export, and it learns for each combination of camera, lens and film. Open a photo from the X-S20 with the Viltrox and it opens on my usual look for that pairing, at my usual strength. Recent exports count most, so if I change how I edit, it follows within fifteen or twenty photos and old habits fade.
It’s medians and averages on my own phone. There’s no model and no cloud, and nothing leaves. If I want to see what it’s learned, the numbers are right there in the app.
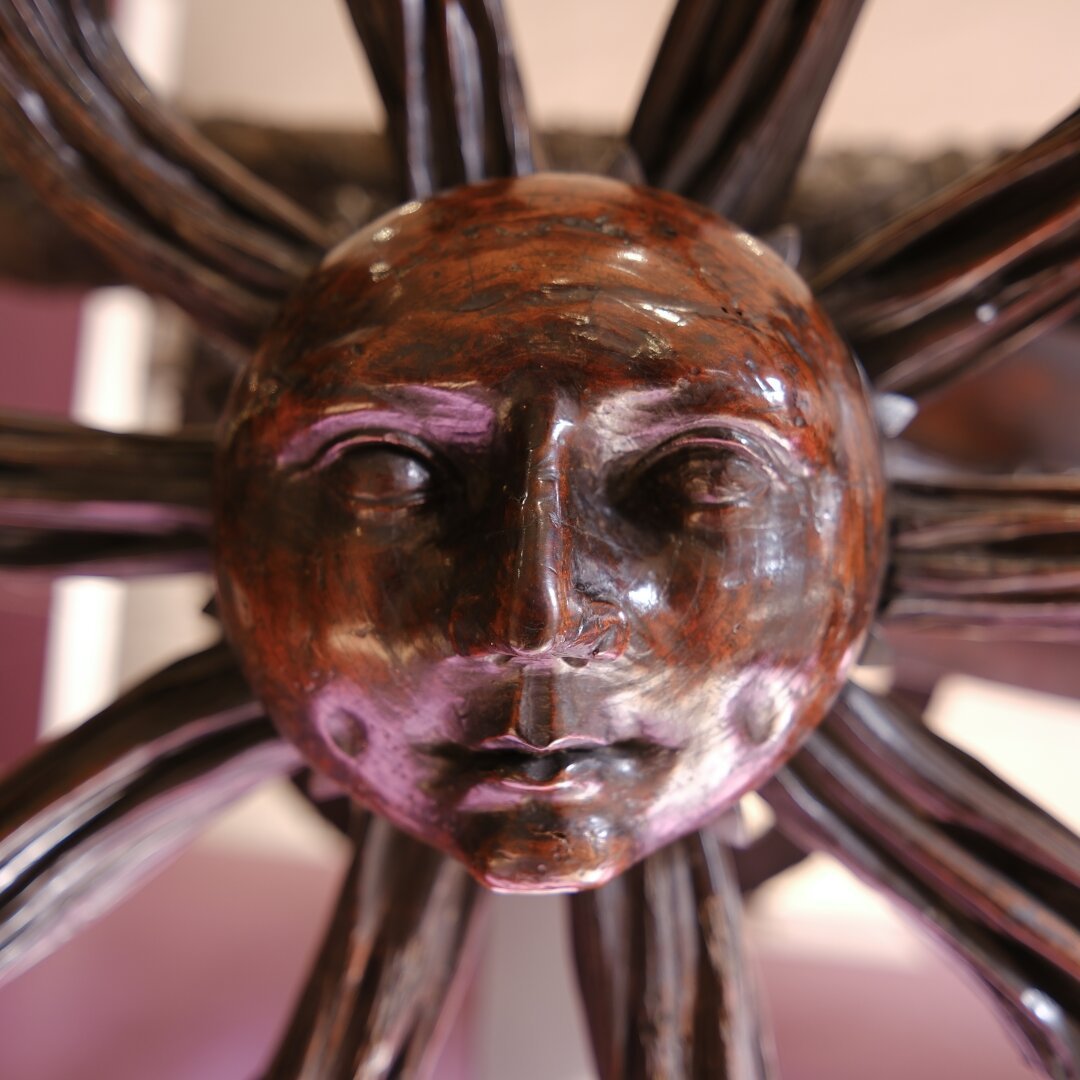 A sunny cart wheel hub.
No uploads, no tracking, no nothing
Your photos never leave your phone. There’s no upload, because there’s nowhere to upload to. There’s no account, no sign-in, no tracking and no analytics. It works in aeroplane mode.
Exports carry no metadata: no location, no camera serial number, no date. Most people don’t know their photos carry where they were taken, often to within a few metres, and for a lot of photos that’s home. The only details that leave with the photo are the ones you choose to put in the caption.
Your settings live in your phone’s browser storage, and you can save them as a file to keep or move. The one outside request it makes is for typefaces: pick one other than the built-in font and it loads from Google Fonts.
Frames without another app
The frame is part of the same few taps as the edit. A white, cream or black border sized for Instagram, a thin keyline if you like that, and a caption that builds itself from the photo. Camera and lens come from the photo’s own data, film scans are recognised, and a new camera is added to your gear list the first time you open a photo from it. Then there’s the attribution line, for your site or handle.
Try it
I think a lot of people at the moment love taking lots of photos but don’t love spending hours at a desk worrying about warm shadows or clipped highlights. I want to show off the snaps I take, but I don’t want to give myself a second job. I also want some consistency, and for it to converge on my preferences over time, without anything leaving my own device. If it’s just me that wants this, I’m fine with that. But if you want it too, give it a go.
Speed matters most to me in motorsport. The time when people are most interested in motorsport shots is immediately after the race, and that fades pretty quickly. Some moments are fleeting, and sometimes getting your work out there is urgent. If you want to share shots from trackside, but you want to take them on a proper camera, you need your edits basically preset and one tool to meet all your needs. There are other times that matters too, but motorsport is what I love best.
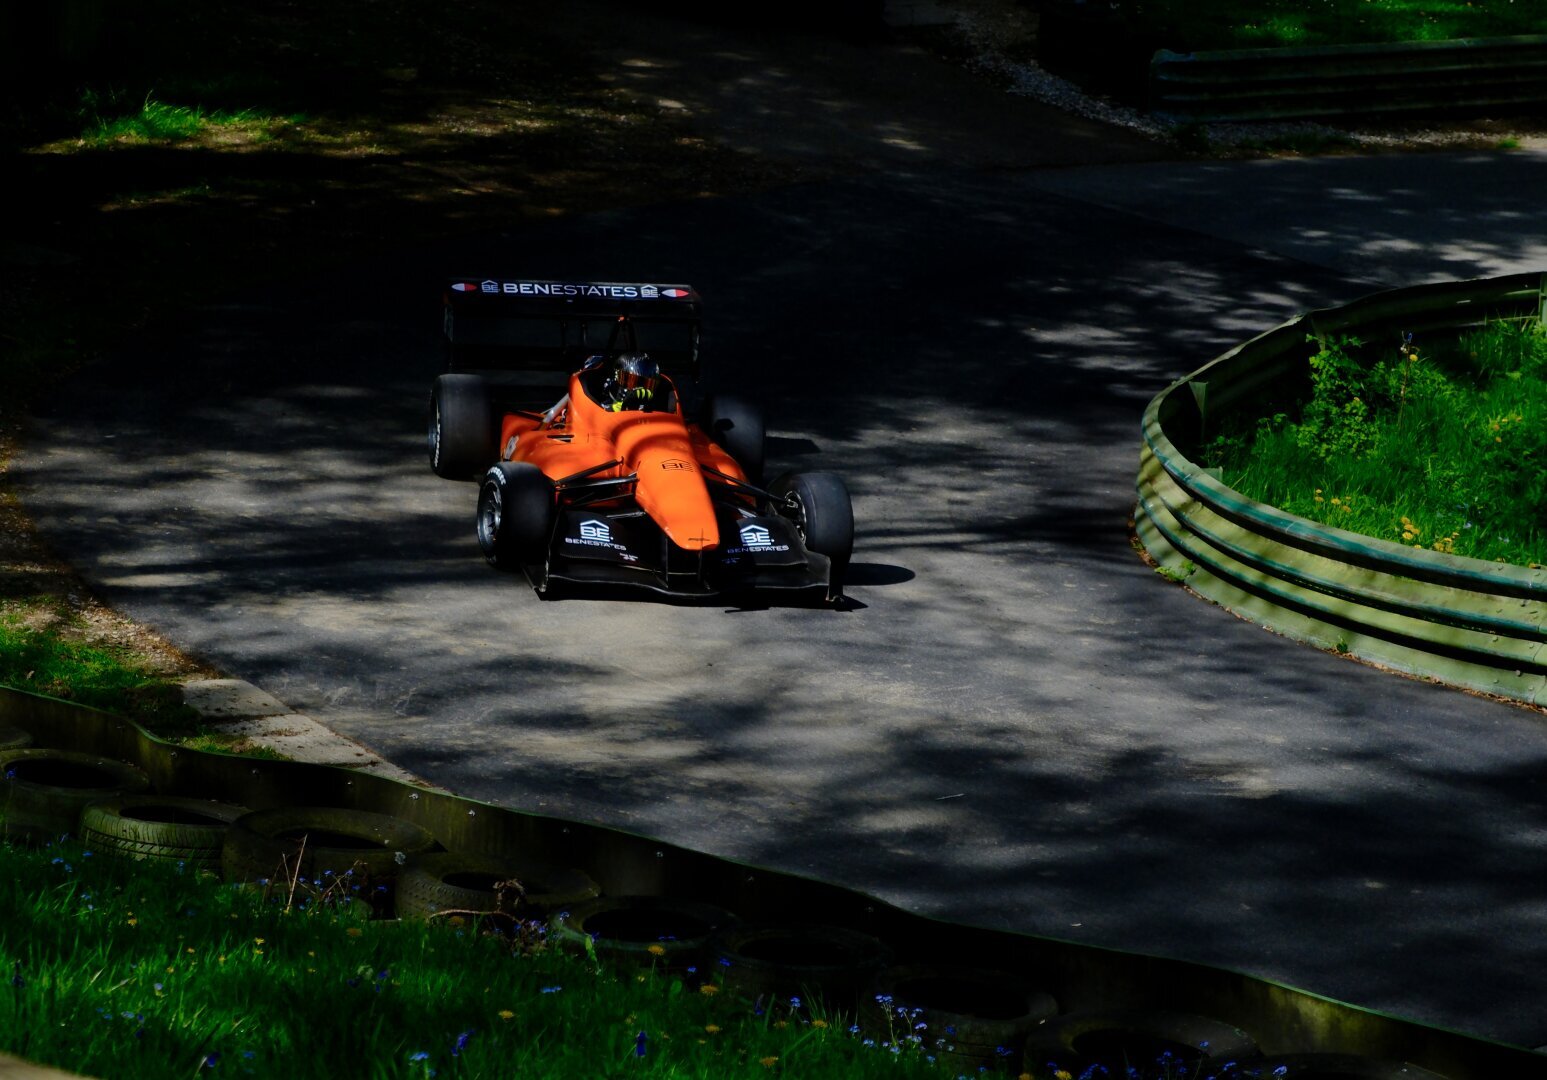 Trackside, where the shots need to be out before the cars have cooled down.
It’s a web page, but you can add it to your home screen and it works offline like an app. It’s free, there are no ads and there’s no app store. It’s at nicoboyce.com/beastiesnaps.
When you share your Beastie Snaps edits, please do let me know. Tag @nicoboycedotcom on Instagram or @beastie@pixelfed.social on Pixelfed.